


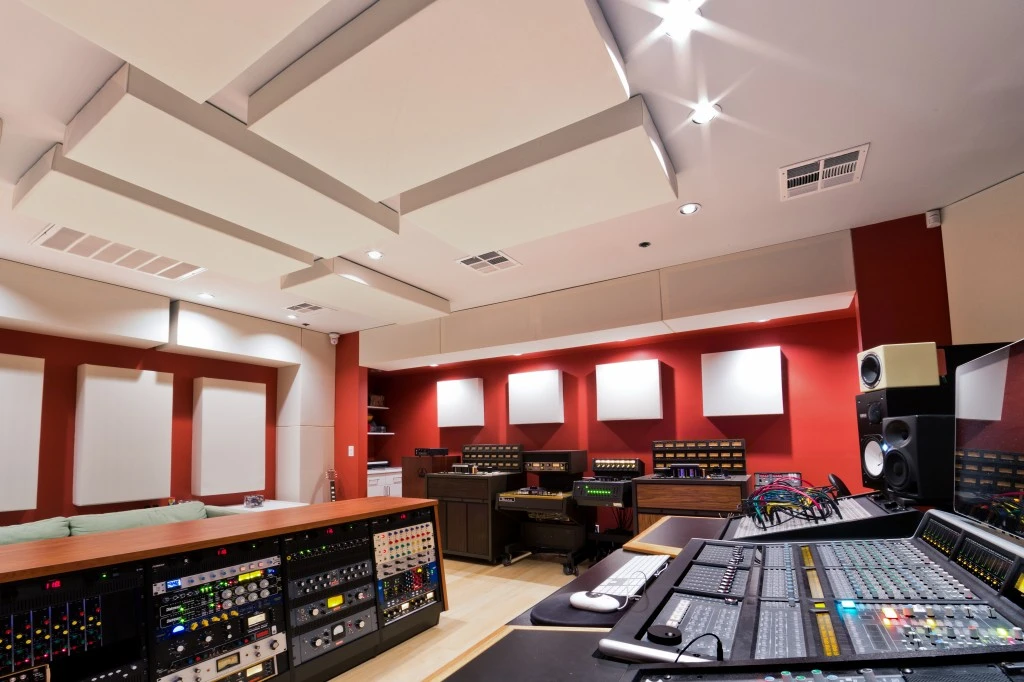
The following room setup case study was designed to illustrate how a typical room can be tested, designed and acoustically treated to achieve the best sound quality possible.
The Room:
– 13’7”W x 14’4”L x 8’H
– 12’W x 5’H windows on the back wall and left wall
– 6’W x 7’H sliding glass door on the front wall
– 6’W x 7’H French doors on the right wall
– One layer of 5/8” sheet rock over metal studs; all walls are filled with spray insulation. 3’ crawl space beneath the room.
– Wood floors
The Equipment:
– dBX RTA-M Measurement Microphone
– Soundcraft M12 mixer (nice, clean preamps)
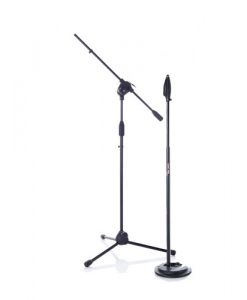
– One Atlas Pro Sound mic stand
– Two JBL LSR4328 monitors
– SSL XLogic converters
– Room EQ Wizard (free download)
The Goal: The goal was simple: the take a bad room and turn it into a good one using a combination of good positioning and acoustic treatment. When I say, “bad”, I really mean “almost as bad as you can get”. As you can see by the dimensions listed above, the space is nearly square and while all the glass isn’t necessarily a bad thing from a low-end standpoint, it’s definitely a problem in the mid range and high end.
The Procedure: I took all the treatment out of my room then shot it for a baseline reading. After that I added acoustic treatment one area at a time, using well-established best practices and commercially available panels from GIK Acoustics. All panels utilized mineral wool with densities ranging from 48kg/m3 – 70kg/m3 depending on the thickness of the panel.
Room Setup Shot 1:
No treatment. Note the 25 dB null at 70 Hz, the 14 dB null at 100 Hz, the resonance at 280 Hz, and the 14 dB trough from 700 Hz to Decay times are too long across the board.


Room Setup Shot 2:
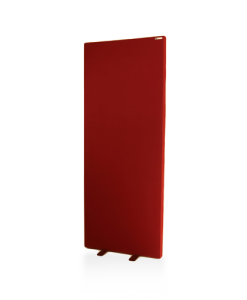
Add GIK 244 Bass Traps floor-to-ceiling in the back corners. The goal was to begin to stabilize the low end response in the room and to improve decay times in a general way.
All of the dips from 150 Hz are improved by 2-4 dB each. There is some smoothing in the 700 Hz-1 Khz trough and in the highs. Note the improvement in decay time.


Room Setup Shot 3:
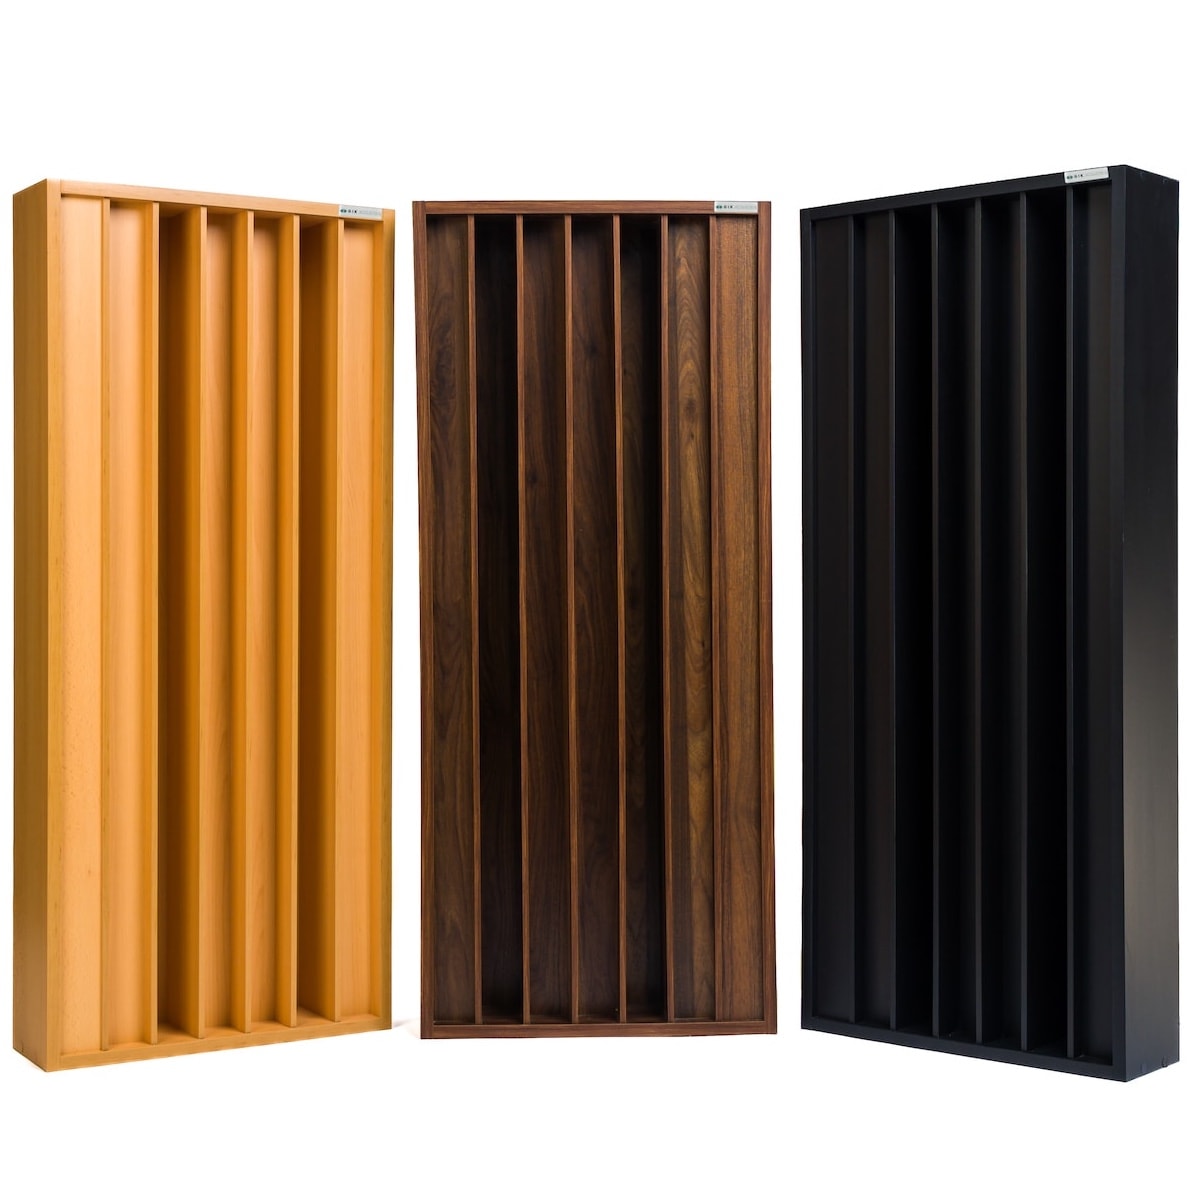
Add GIK 244 Bass Traps floor to ceiling in the front corners and two GIK 242 Acoustic Panels on the front wall to further soften the sub 250 Hz range and to reduce decay times some more.
Got 1 dB reduction in the 70 Hz null and some more reduction in the 150-700 Hz range. There is a good bit of smoothing from 1.2 Khz to 4 Khz. 6 Khz to 20 Khz is nearly flat. More broad improvement in decay time, but there is specific reduction at 80 Hz.


Room Setup Shot 4:
Add five GIK Monster Bass Traps to the back wall. Moved the listening position back 12”; moved the speakers 7” further apart. The point on this room setup was to take a serious bite out of the sub 200 Hz issues. I also suspected that covering much of that glass would result in a good bit of high end smoothing. The move back was a calculated risk to see if I could move out of (or partially out of) the 70-80 Hz modal issues; it paid off.
This one took 8 dB off the 70 Hz peak, took 2 dB off the 80 Hz peak, evened out the low midrange more and evened out the 700 Hz-1 Khz valley. Unfortunately there’s a new dip at 1.7 Khz. Testing indicated that this was comb filtering caused by the console. The highs are still pretty even. There is more improvement in decay time especially at 40 Hz and 80 Hz.


Room Setup Shot 5 (PLEASE NOTE THE CHANGE OF SCALE):
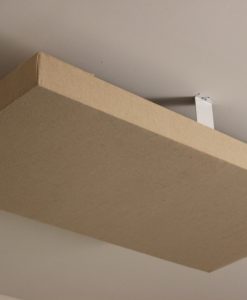
Add four GIK 244 Bass Traps at the first and second reflection points, two GIK 244 Bass Traps above the mix position and two GIK 242 Acoustic Panels just ahead of the first reflection point. Moved the listening position back 6” more. I knew that changing the room setup and moving back had produced a dramatic reduction in the 70-80 Hz problems, so I decided to try moving back a bit more to see if I could reduce it further.
Huge improvement. The 44 Hz peak was reduced by 2 dB or so; the dips in the 50-100 Hz range have improved by 6-8 dB each. The biggest change is the radical smoothing from 100 Hz-3.4 Khz, though there is still some comb filtering from reflections off the console and a 15 Khz dip to work on. Though decay times are still much more even than they were to start with, the move back into the room results in a longer decay time at 80 Hz. 40 Hz is still better than the first three waterfall plots.


Designer Tips: The Significance of “Clouds” with Mike Major
When people reach out to us at GIK for acoustic advice, we never have any [...]
Jun
Designer Tips: The Importance of Coverage Area with James Lindenschmidt
The most important factor in acoustic treatment performance is coverage area. Or more specifically, the [...]
May
Designer Tips: Home Theaters and Acoustic Balance with John Dykstra
Without fail, one of the first things our clients say to us when we begin [...]
May
Black Friday Cyber Monday Sale 2021
[...]
Nov
GIK Acoustics Releases Stylish Vocal Isolation Booth
ATLANTA, GA (June 3, 2020) – We announced the debut of a new portable sound [...]
Aug
Photo Contest 2021 Extended!!
The GIK Acoustics Summer Giveaway Photo Contest 2021 invited customers to submit photos illustrating how [...]
Aug
GIK Giveaway Summer Photo Contest 2021
The GIK Acoustics Summer Giveaway Photo Contest 2021 invited customers to submit photos illustrating how [...]
Jun
Speaker Placement: How far from the wall should I place my speakers?
There’s a lot of confusion surrounding speaker placement. In truth, the optimal speaker setup is [...]
Mar